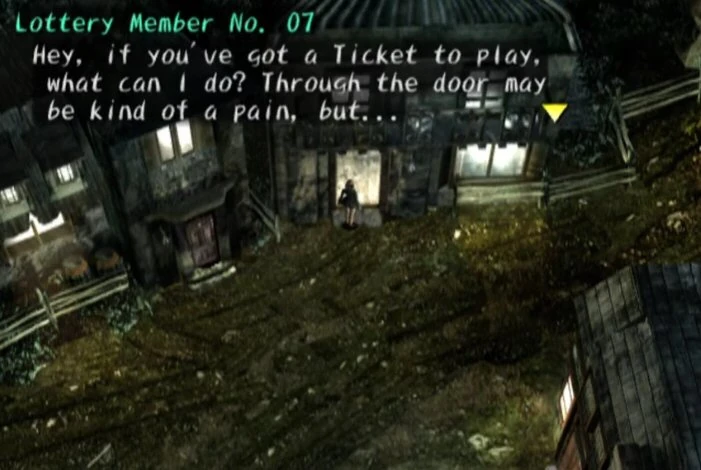
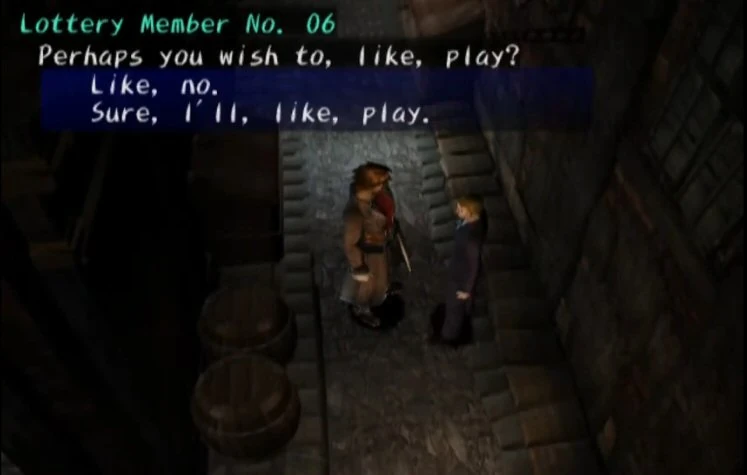
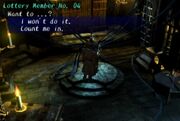
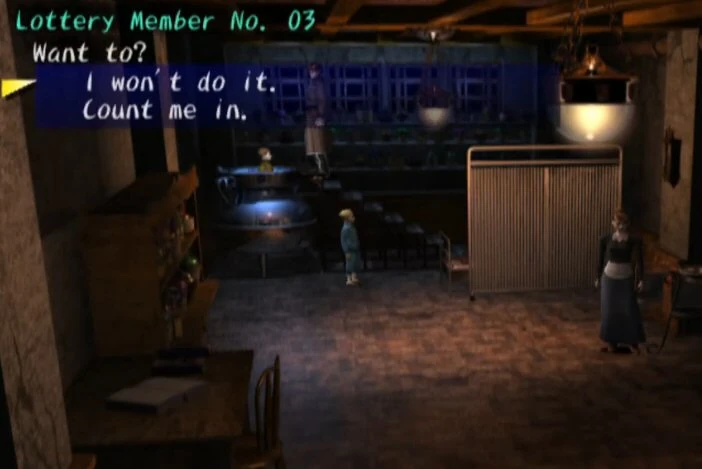
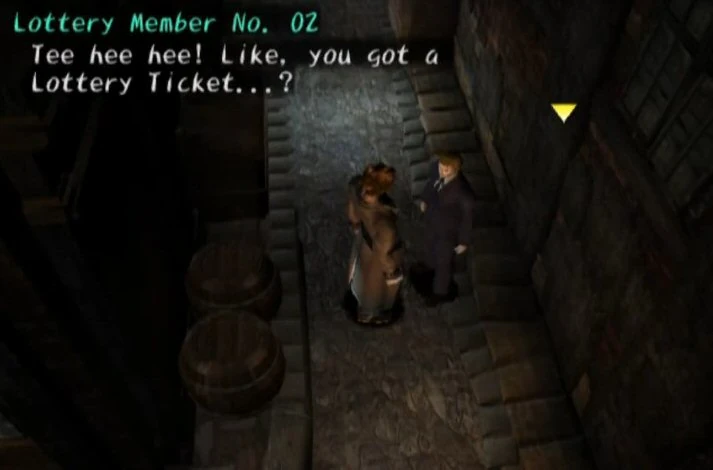
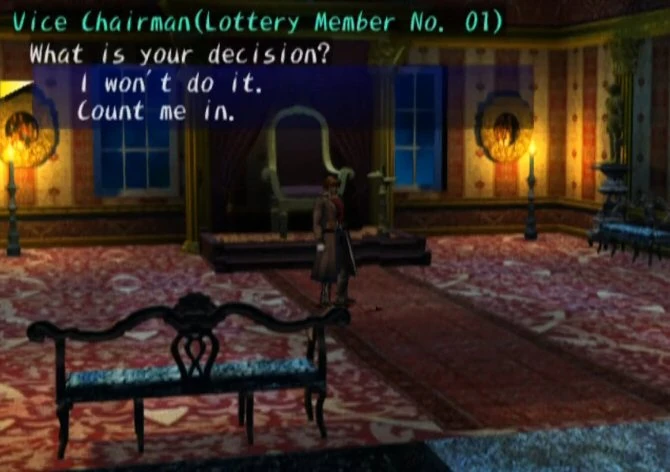
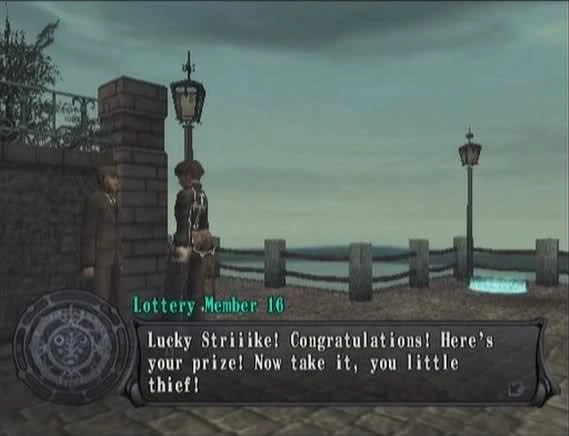
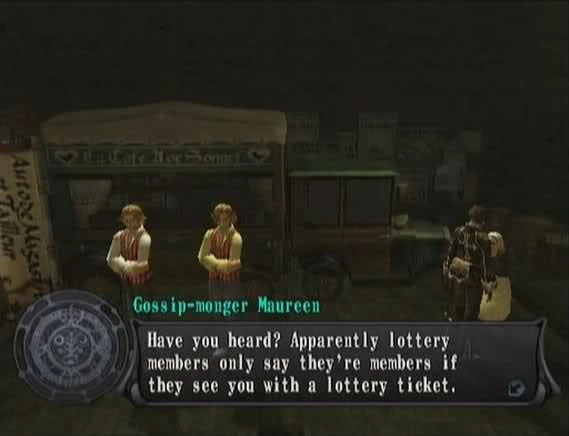
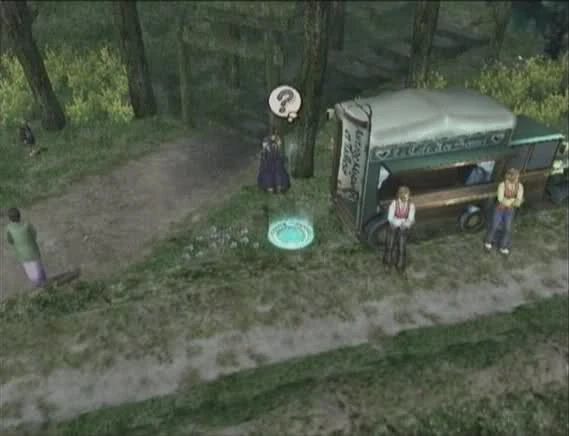
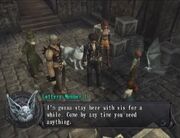
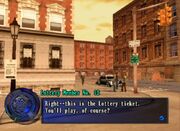
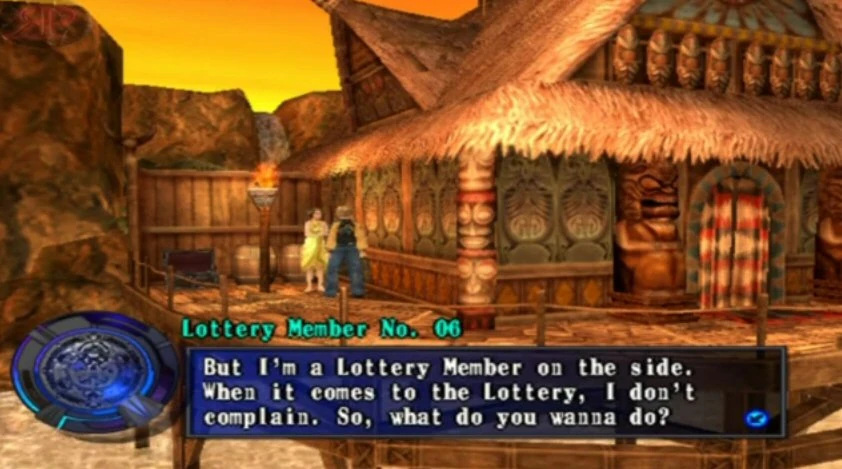
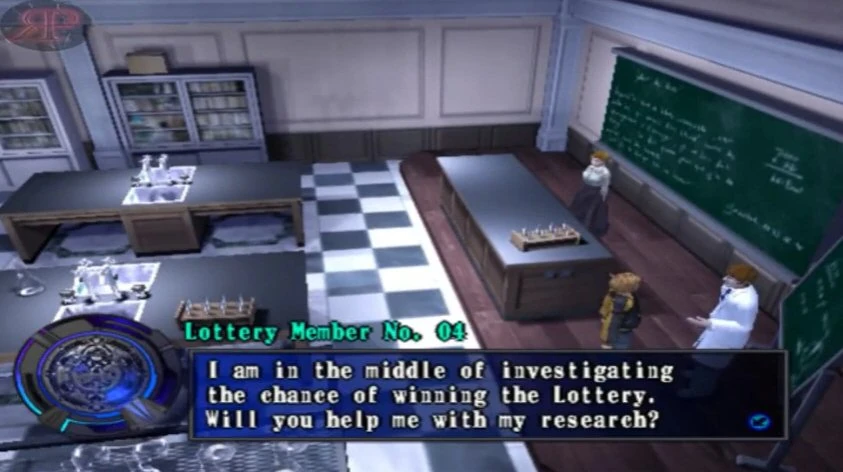
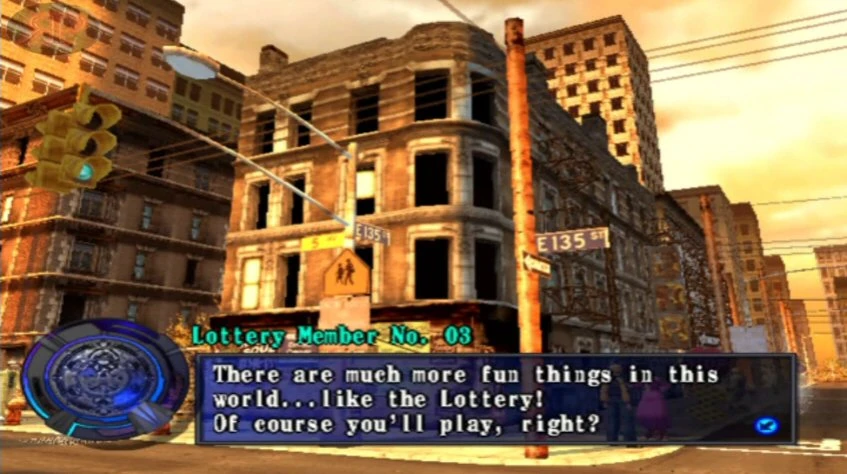
The Lottery is a feature in Shadow Hearts. If you have a Lottery Ticket, you can talk to different 'lottery members' (NPCs across the game world), and play the Lottery.
Playing the Lottery
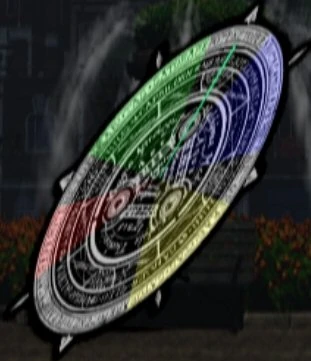
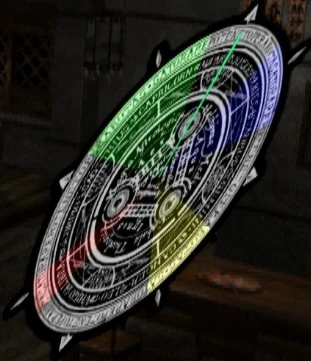
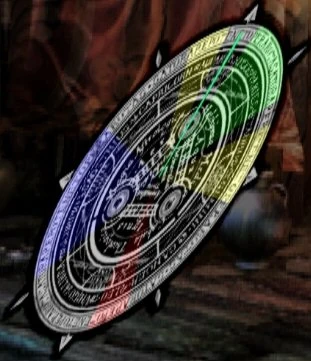
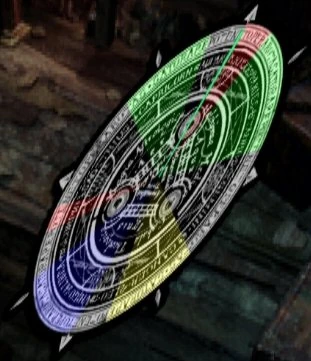
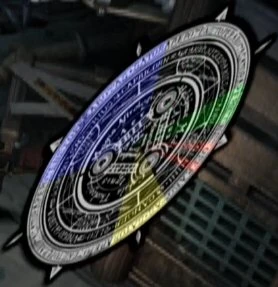
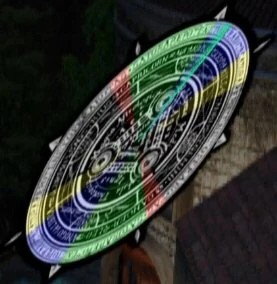
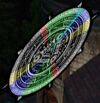
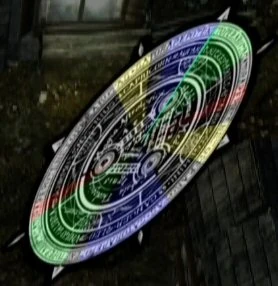
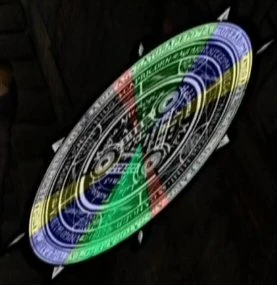
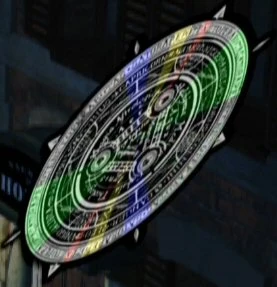
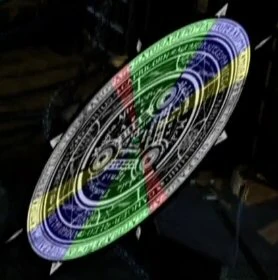
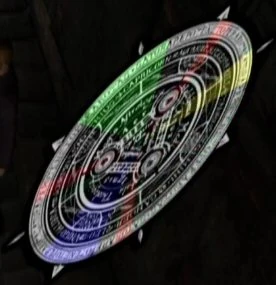
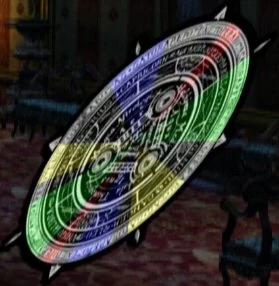
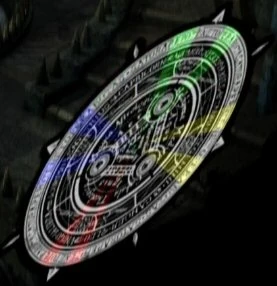
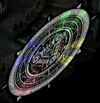
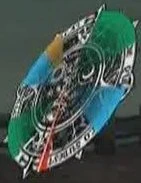
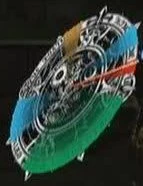
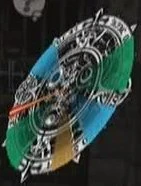
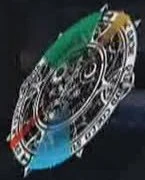
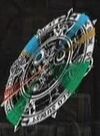
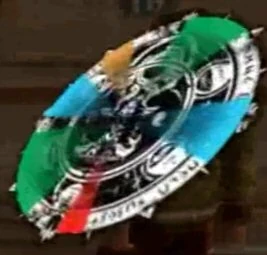
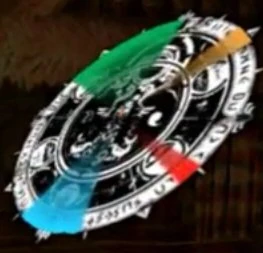
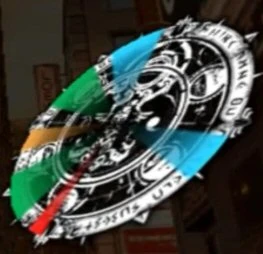
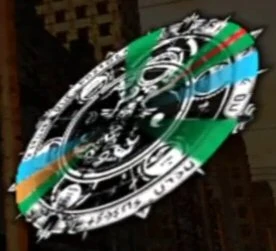
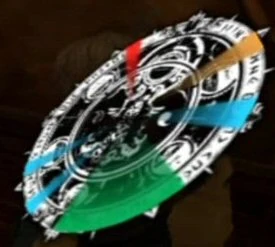
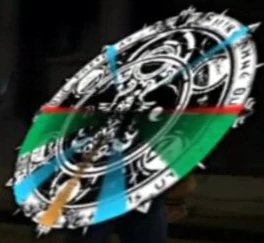
When you have a Lottery Ticket, which are found either on the ground, in chests, or after defeating certain enemies, and you have talked to a lottery member, a Judgement Ring appears on the screen, with four hit areas - Red, Yellow, Blue and Green. The idea is to press x to slow down the ring, and to get a certain item by hitting one of the hit areas. Red is the best, then Yellow, then Blue, then Green, and if you miss you get Tissues (Which are actually needed in one of the Sidequests). Generally, you want to aim for the Red.
Members + Prizes
A list of the Different Lottery NPCs and their prizes, plus recommendations. Maybe a list of where to get the tickets in the future. The Lottery played in Covenant & From The New World, comes with an added difficulty. The status of the Judgement Ring will vary depending on the Lottery Member your playing with. It could be set at normal speed, fast speed, have narrow areas or even be invisible!
Shadow Hearts
- Main article: Lottery/Shadow Hearts
Shadow Hearts: Covenant
- Main article: Lottery/Shadow Hearts: Covenant
Shadow Hearts: From the New World
- Main article: Lottery/Shadow Hearts: From the New World
Note: The numbers count down, so Number 15 is the first, Number 14 the second and so on. <tabber> Shadow Hearts =
Some rings are Invisible, but I don't have which ones, so just equip a pocket watch before each one to make sure you don't mess up. If you're really serious, you should save before each lottery, but you should save an anyway before important ones like the 10 Gauge or Crucifix.
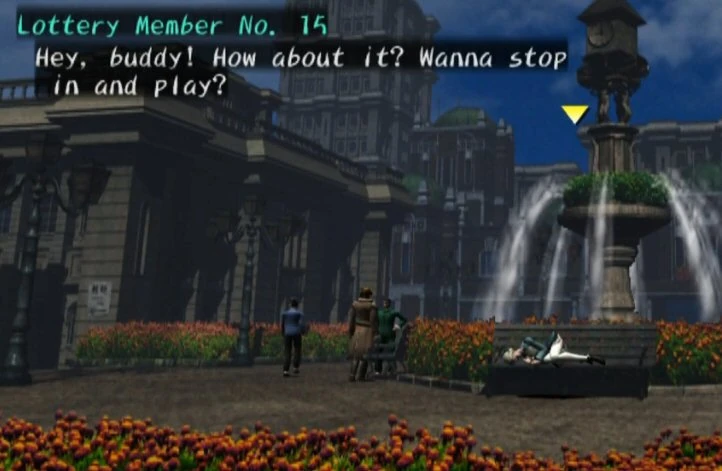
No.15: Building-Loving Man
Location: Fengtian
Prizes:
| RED | Jade Lariat |
| YELLOW | B. Tortoise Fang |
| BLUE | Talisman of Mercy |
| GREEN | Pure Seed |
| MISS | Tissues |
Recommended: Get the tissues. You can buy everything else later in the game, and you need the tissues for the Air Gravestone.
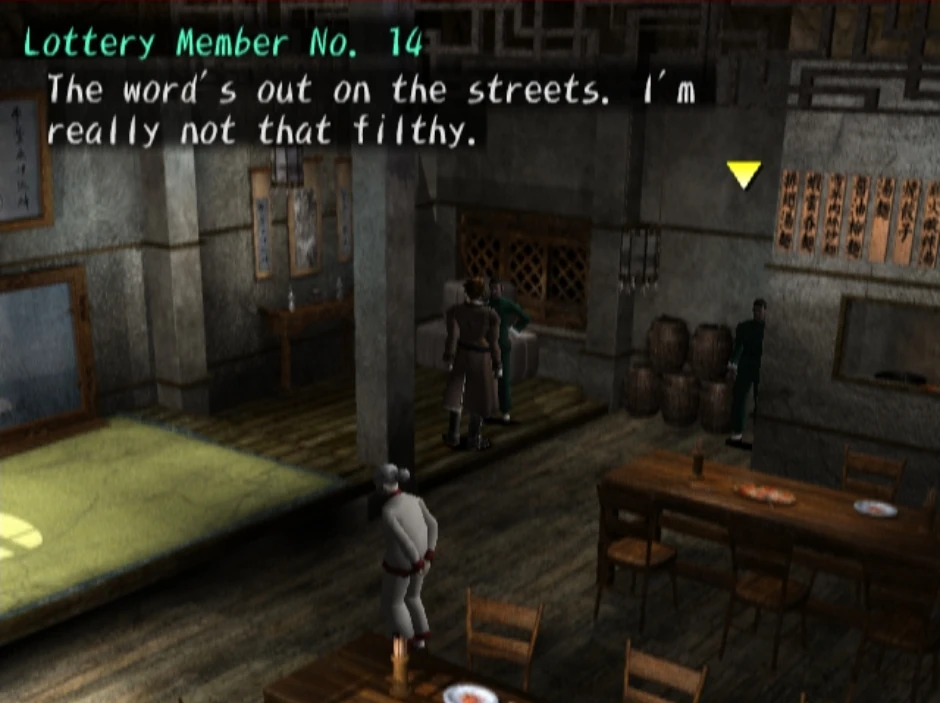
No.14: Filthy Samo
Location: Dalian's Restaurant
Prizes:

| RED | Pocket Watch |
| YELLOW | W. Tiger Hair |
| BLUE | Tea of the Healer |
| GREEN | Pure Seed |
| MISS | Tissues |
Recommended: Pick the Pocket Watch. It's good for early in the game, and also invisible rings.
No.13: Kato
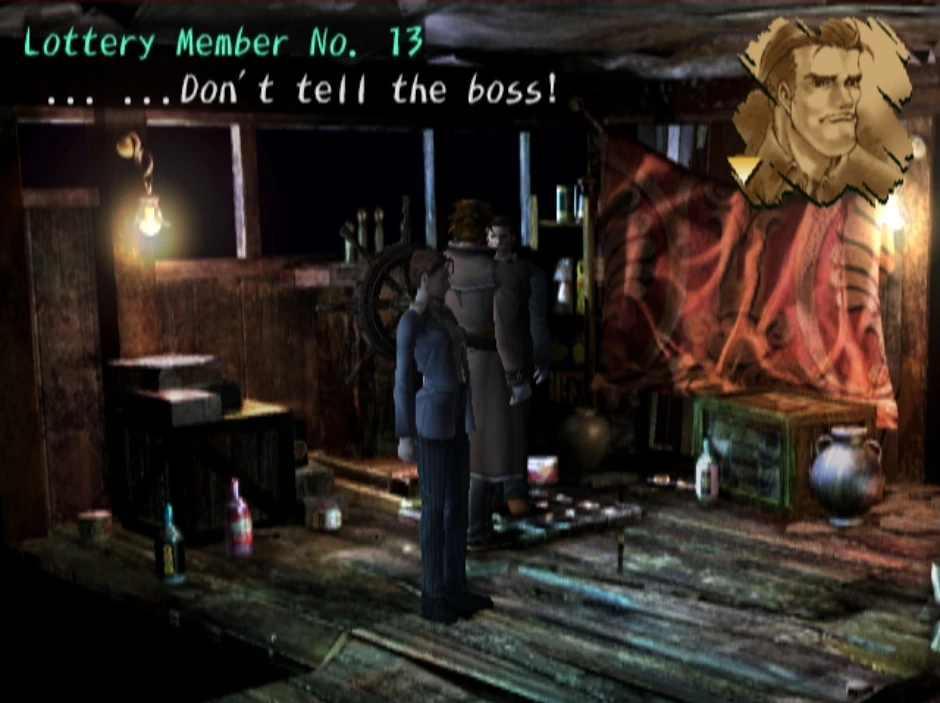

Location: Smuggler's Boat
Prizes:

| RED | Iron Clogs |
| YELLOW | B. Dragon Horn |
| BLUE | Witch's Broth |
| GREEN | Pure Leaf |
| MISS | Tissues |
Recommended: No recommendation. The prizes aren't any better than each other, really.
No.12: Sharp Van
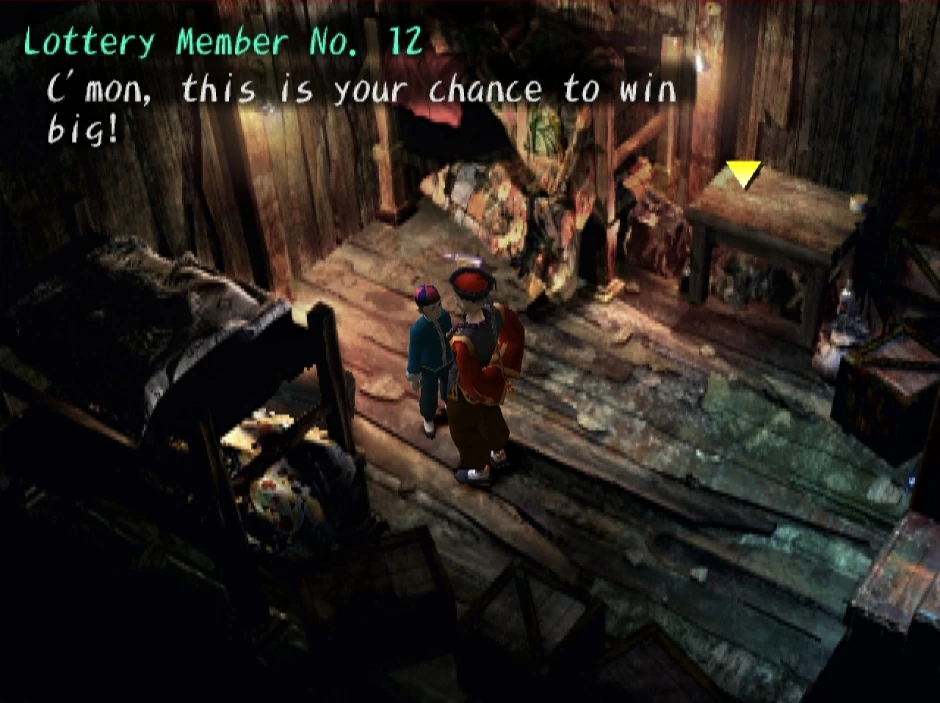

Location: Smuggler's Boat, when it is at Shanghai.
Prizes:

| RED | Star Card |
| YELLOW | R. Phoenix Talon |
| BLUE | Tea of the Holy One |
| GREEN | Pure Seed |
| MISS | Tissues |
Recommended: Take the star card, the more discounts the better!
No.11: Master Xiaofang
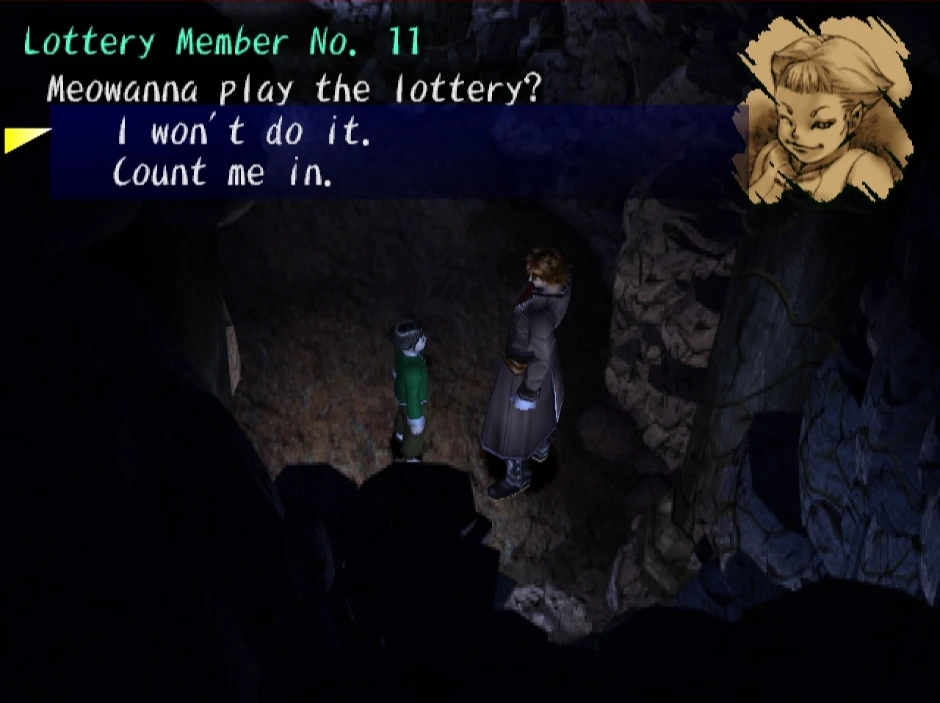

Location: Ni Wan Palace
Prizes:

| RED | Flash Badge |
| YELLOW | Kirin Scale |
| BLUE | Priest's Wine |
| GREEN | Pure Seed |
| MISS | Tissues |
Recommended: Flash Badge. Handy for the Qinggu battle.
No.10: Invincible Nee
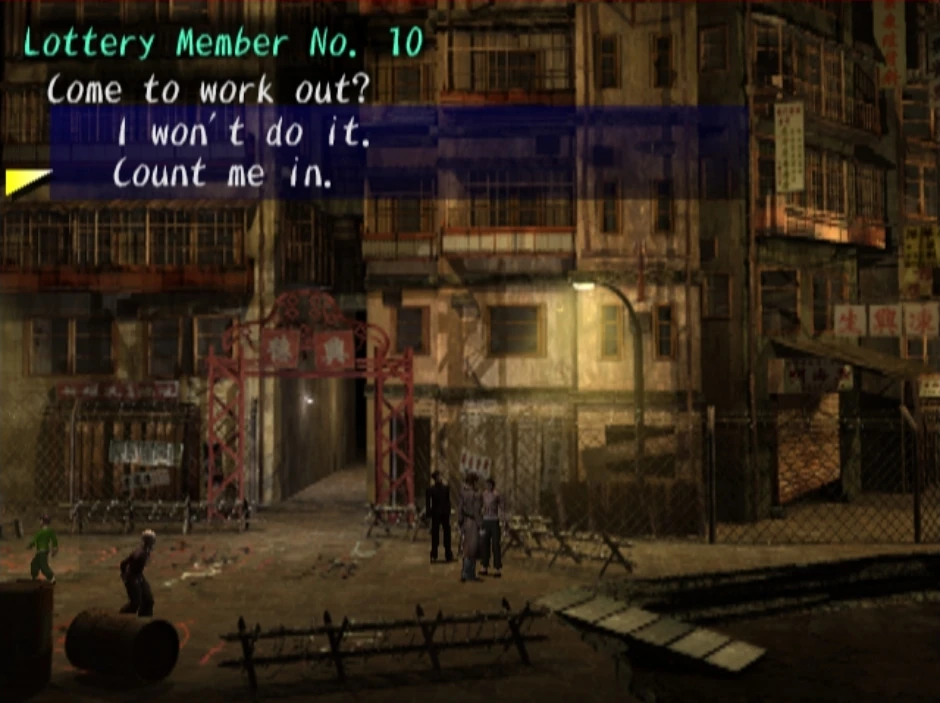

Location: Kowloon Fortress
Prizes:

| RED | Mind's Eye |
| YELLOW | Moon Swallow |
| BLUE | Talisman of Wisdom |
| GREEN | Pure Seed |
| MISS | Tissues |
Recommended: Mind's Eye. You can put it on Yuri, and boost his attack a lot, though it does make hit areas invisible...
No.09: Private Matsuura
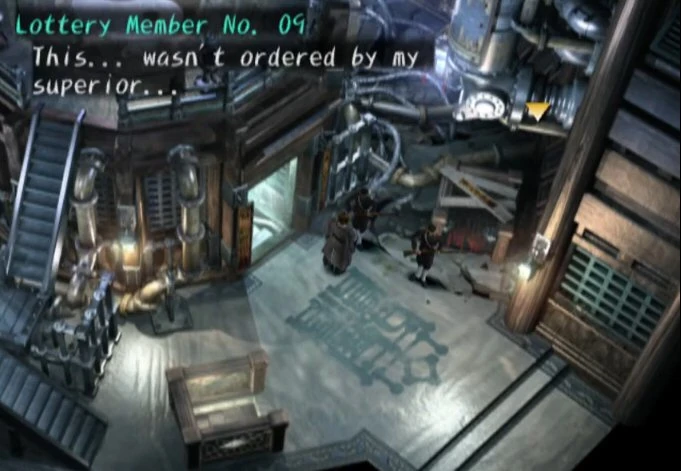

Location: Kuihai Tower
Prizes:

| RED | Warlock Earrings |
| YELLOW | Star Swallow |
| BLUE | Soul Benediction |
| GREEN | Pure Seed |
| MISS | Tissues |
Recommended: Get the star swallow, handy for hard battles - especially the Final Boss. But the Warlock Earrings also will work well with Zhuzhen since of his high special attack and when he learns Corpse Arm. And it will be useful for early on in the Europe Section.
No.08: Guard Homas
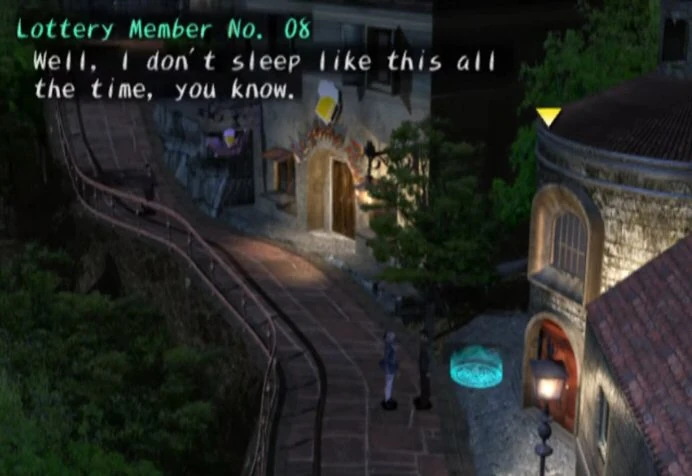

Location: Prague
Prizes:
| RED | Berserker Earrings |
| YELLOW | Seal of Luck |
| BLUE | Talisman of Purity |
| GREEN | Thera Root |
| MISS | Tissues |
Recommended: Get Berserker Earrings and give Yuri even more HP. You can never have enough HP.
No.07: Hunter Warda

Location: Bistritz
Prizes:

| RED | Oracle Earrings |
| YELLOW | Seal of Life |
| BLUE | Tea of the Holy One |
| GREEN | Mana Root |
| MISS | Tissues |
Recommended: Those Oracle Earrings will really help on Alice especially when she learns arc.
No.06: Hooked-Nose Robin

Location: Rouen
Prizes:

| RED | Accelerator |
| YELLOW | Seal of Aura |
| BLUE | Alchemist's Water |
| GREEN | Pure Root |
| MISS | Tissues |
Recommended: Get the accelerator - It boosts your pedometer steps of you can get more pricey stuff from the Peddler.
No.05: Drunken Orro


Location: Old Castle Street
Prizes:

| RED | Priest Earrings |
| YELLOW | Seal of Speed |
| BLUE | Thera Extract |
| GREEN | Thera Root |
| MISS | Tissues |
Recommended: Grab those priest earrings, they're very handy for Alice's MP.
No.04: Introverted Chopin

Location: Calios Mental Hospital (After you've completed it)
Prizes:
| RED | Eternity Card |
| YELLOW | Seal of Force |
| BLUE | Mana Extract |
| GREEN | Mana Root |
| MISS | Tissues |
Recommended: Eternity Card, you want those discounts!
No.03: Pot-Lover Macken

Location: Orphanage
Prizes:


| RED | Crucifix |
| YELLOW | Seal of Wisdom |
| BLUE | Pure Root |
| GREEN | Pure Extract |
| MISS | Tissues |
Recommended: The crucifix is probably the most important piece of equipment in the Game. Try your hardest to get it, you'll need it for many a boss fight.
No.02: Fake-Nose Man

NOTE:You must have Margarete in your party to play this lottery. Location: Rouen (Must have completed the Margarete's Confession Sidequest
Prizes:

| RED | 10 Guage |
| YELLOW | Dice of Caesar |
| BLUE | Seal of Strength |
| GREEN | Eye of Ouroboros |
| MISS | Tissues |
Recommended: You really want to be getting that 10 gauge. It's Margarete's Ultimate Weapon.
No.01: Keith

Location: Blue Castle
Prizes:

| RED | Thief's Earrings |
| YELLOW | Key to Success |
| BLUE | Seal of Vitality |
| GREEN | Fruit of Yggdrasil |
| MISS | Tissues |
Recommended: Key to Success, for the Final Battle. You can get the Thief Earrings if you really want, but you'll probably end up not equipping them.
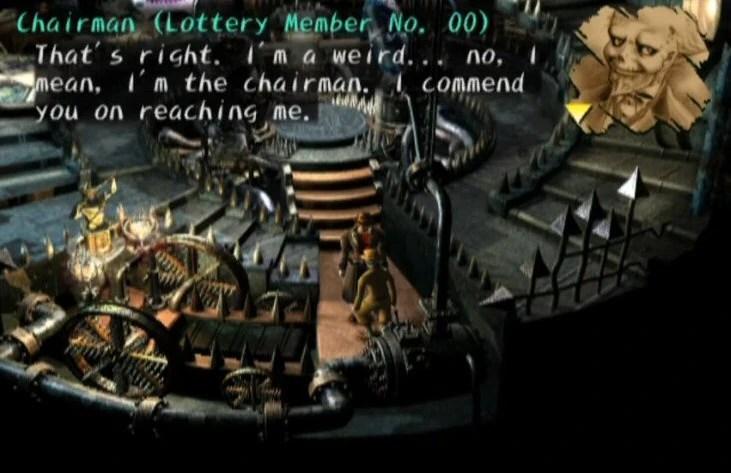
No.00: Roger Bacon

Location: Roger's House
Prizes:
| RED | Cotton Underpants |
| YELLOW | Comet Mask |
| BLUE | Seal of the Soul |
| GREEN | Talisman of Power |
| MISS | Tissues |
Recommended: Cotton Underpants! They reduce physical attacks by 50%, and are extremely comfortable. |-| Shadow Hearts: Covenant=
No.16: Fox

Location: Le Havre
- Ring: Normal
Prizes:

| RED | Bathin Crest |
| YELLOW | Hit Area Expand |
| BLUE | Daphne Fruit |
| GREEN | Pure Leaf |
| MISS | Tissues |
Recommended: Get the Bathin crest for obvious reasons. Already have it? Go for the Hit Area Expand.
No.15: Gossipy Moleen

Location: Port of Southampton
- Ring: Normal
Prizes:

| RED | Slow 1 |
| YELLOW | Hit Area Expand |
| BLUE | Talisman of Mercy |
| GREEN | Thera Seed |
| MISS | Tissues |
Recommended: Try to get the Slow 1 ring status item, as there is no where else to acquire it.
No.14: Anthony, Weary of People


Location: Rhondda Mines
- Ring: Invisible
Prizes:


| RED | Third Key |
| YELLOW | Hit Area Expand |
| BLUE | Daphne Fruit |
| GREEN | Mana Seed |
| MISS | Tissues |
Recommended: Get the Third Key. Useful for tough bosses. Although you can buy them later on in the game...
No.13: Cannes-born Marivele
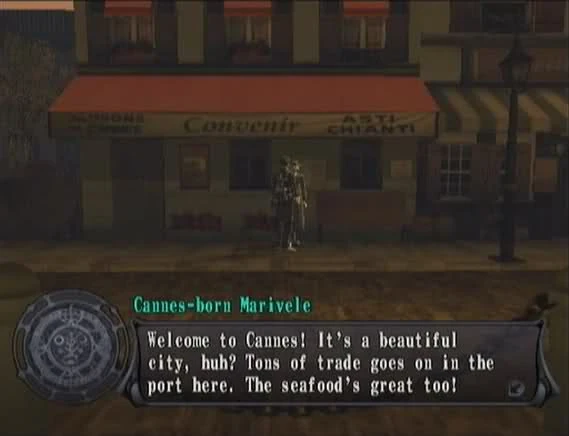

Location: Cannes
- Ring: Small
Prizes:

| RED | Marchosias Crest |
| YELLOW | Face Guard |
| BLUE | Hit Area Expand |
| GREEN | Pure Seed |
| MISS | Tissues |
Recommended: Get the Marchosias crest for obvious reasons. Already have it? Go for the face guard.
No.12: Thompson, the panty-thief
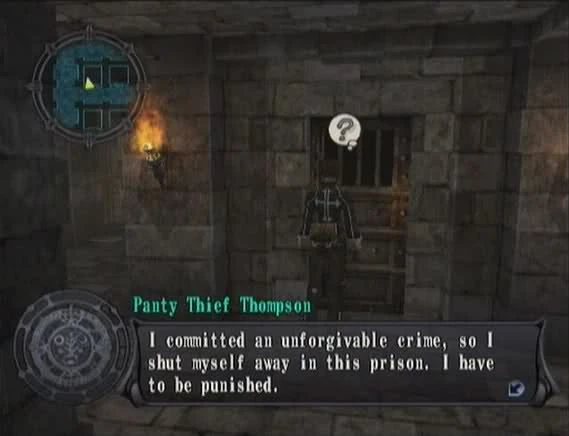

Location: Marguerite Island
- Ring: Fickle
Prizes:

| RED | Slow 2 |
| YELLOW | Western Belt |
| BLUE | Talisman of Mercy |
| GREEN | Thera Seed |
| MISS | Tissues |
Recommended: Try to get the Slow 2 ring status item, as there is no where else to acquire it.
No.11: Natalya, Always Serving People

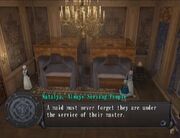
Location: Winter Palace, Petrograd
- Ring: Reverse
Prizes:


| RED | Prism Band |
| YELLOW | Replacement Man |
| BLUE | Hit Area Expand |
| GREEN | Mana Seed |
| MISS | Tissues |
Recommended: No recommendations. Prism Band is useful if you use Joachim...
No.10: Landlady Clemense
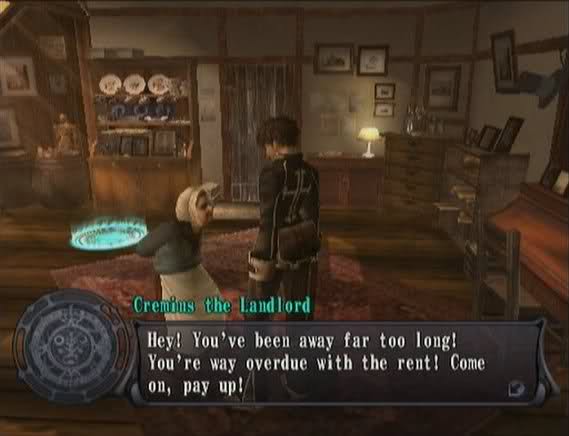

Location: Gepetto's Apartment, Paris
- Ring: Slightly faster than normal
Prizes:


| RED | Alloces Crest |
| YELLOW | Will Power |
| BLUE | Hit Area Expand |
| GREEN | Pure Seed |
| MISS | Tissues |
Recommended: Get the Alloces crest for obvious reasons. Already have it? Maybe go for the Will Power accessory...
No.9: Manual Laborer Murai


Location: Brick Warehouse, Yokohama
- Ring: Normal
Prizes:


| RED | Huge Jug |
| YELLOW | Mirror Bracelet |
| BLUE | Thera Extract |
| GREEN | Thera Root |
| MISS | Tissues |
Recommended: No recommendations. Mirror Bracelet if you don't already have one...
No.8: Warrant Officer Watanabe
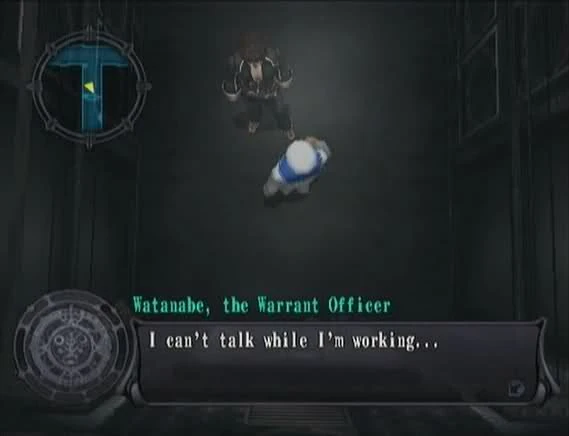

Location: Battleship Mikasa
- Ring: Up
Prizes:


| RED | P-ATK Down 3 |
| YELLOW | Kendo Mask |
| BLUE | Hit Area Expand |
| GREEN | Mana Root |
| MISS | Tissues |
Recommended: Try to get the P-Attack Down 3 ring status item, as there is no where else to acquire it.
No.7: Gambling Maniac Kanehira
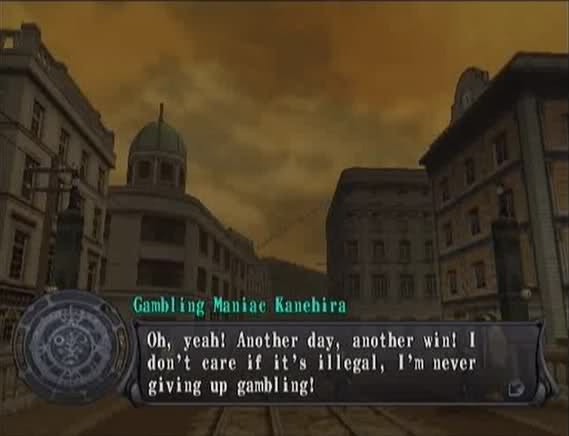

Location: Nihonbashi
- Ring: Normal
Prizes:


| RED | Warning Device |
| YELLOW | Zodiac Bracelet |
| BLUE | Hit Area Expand |
| GREEN | Pure Root |
| MISS | Tissues |
Recommended: Try to get the Warning Device accessory, as there is no where else to acquire it.
No.6: Lady Bug

Location: Inugami Village
- Ring: Small
Prizes:

| RED | Dark Angel |
| YELLOW | Cosmic Bracelet |
| BLUE | Thera Extract |
| GREEN | Hit Area Expand |
| MISS | Tissues |
Recommended: No recommendations. Dark Angel or Cosmic Bracelet if you must...
No.5: Cowardly Soldier


Location: Azabu Kamiyashiki
- Ring: Reverse & Narrow
Prizes:


| RED | Slow 3 |
| YELLOW | Ninja Gi |
| BLUE | Mana Extract |
| GREEN | Hit Area Expand |
| MISS | Tissues |
Recommended: Try to get the Slow 3 ring status item, as there is no where else to acquire it.
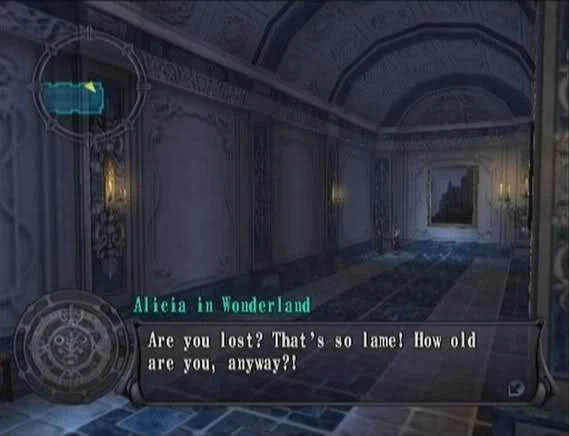
No.4: Alicia in Wonderland

Location: Tiffauges Castle
- Ring: Invisible
Prizes:

| RED | Demon Ward |
| YELLOW | Strongoids |
| BLUE | Pure Extract |
| GREEN | Hit Area Expand |
| MISS | Tissues |
Recommended: Try to get the Demon Ward accessory, as there is no where else to acquire it.
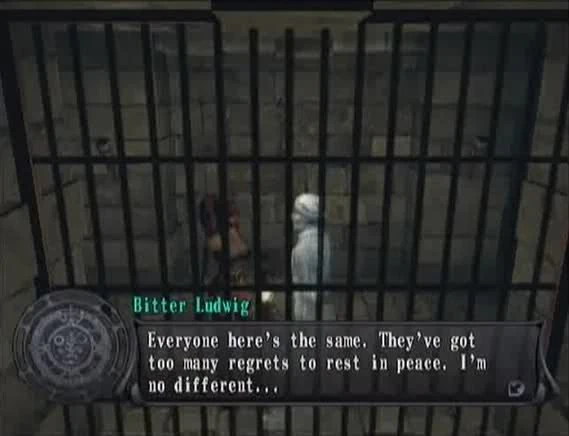
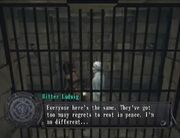
No.3: Bitter Ludwig
Location: Fort of Regrets
- Ring: Haste
Prizes:

| RED | Mind's Eye |
| YELLOW | Bat's Gold |
| BLUE | Strike Expand |
| GREEN | Thera Extract |
| MISS | Tissues |
Recommended: No recommendations. Go for either Mind's Eye or the Strike Expand. Note, Ludwig will vanish after 3 lottery spins.
No.2: Yoshiko Kawashima

Location: Mukyo-an.
- Ring: Normal
Prizes:


| RED | Thief's Earrings |
| YELLOW | Getitup! |
| BLUE | Strike Expand |
| GREEN | Mana Extract |
| MISS | Tissues |
Recommended: No recommendations. Go for either Thief Earrings or the Strike Expand... Note: You need to have played all previous Lottery Members up to this point to play Yoshiko
No.1: The Silver Bat
Location: Le Havre
- Ring: Fickle
Prizes:

| RED | Rose Bondage |
| YELLOW | Meteor Mask |
| BLUE | Strike Expand |
| GREEN | Pure Root |
| MISS | Tissues |
Recommended: Try to get the Rose Bondage ultimate armor for Joachim, as there is no where else to acquire it.
|-| Shadow Hearts: From the New World = If you have excess tickets at the end of the game, use them all on strike expands, as the ultimate weapons actually shrink the hit/strike zone
No.12: Giraffe

Location: Upper West Side
- Ring: Normal
Prizes:

| RED | Gale Rod |
| YELLOW | Leather Cap |
| BLUE | Daphne Fruit |
| GREEN | Pure Leaf |
| MISS | Tissues |
Recommended: Gale Rod is best at this point in the game. And you will need all the stellars to get the Melt Crest.
No.11: Mack the Know-It-All

Location: Chicago
- Ring: Slow
Prizes:

| RED | Pisces Stellar Chart |
| YELLOW | Hit Area Expand |
| BLUE | Daphne Fruit |
| GREEN | Thera Seed |
| MISS | Tissues |
Recommended: Pisces Stellar Chart. It has 18 nodes and is incredibly useful, despite the lack of healing nodes. And you'll need all the Stellar Charts to get the Melt Crest.
No.10: Jubilant Jessie


Location: Roswell
- Ring: Normal/Slow
Prizes:

| RED | Blood Loss 1 |
| YELLOW | Hit Area Expand |
| BLUE | Daphne Fruit |
| GREEN | Mana Seed |
| MISS | Tissues |
Recommended: The Blood Loss 1 is a ring customizer and will help you in battle.
No.9: First Mate Rackham


Location: Carribean Pirate Fort
- Ring: Blind/Slow
Prizes:


| RED | Whale Statue |
| YELLOW | Face Guard |
| BLUE | Hit Area Expand |
| GREEN | Pure Seed |
| MISS | Tissues |
Recommended: The Whale Statue is a helpful item for Shania. his items powers up her La Sirene fusion. Also you'll need all the fetishes to get Tirawa and the good ending.
No.8: Weak Hitting Loggins


Location: Las Vegas (8th floor - Room 812)
- Ring:
Prizes:
| RED | Step Doubler |
| YELLOW | Feather Bracelet |
| BLUE | Talisman of Mercy |
| GREEN | Pure Seed |
| MISS | Tissues |
Recommended: The Step Doubler is an item that, when equipped on the same character with the Pedometer, doubles the step count. It is a must-have if you plan on maxing out the Pedometer to obtain Ricardo's ultimate armor.
No.7: Hyperactive Rita
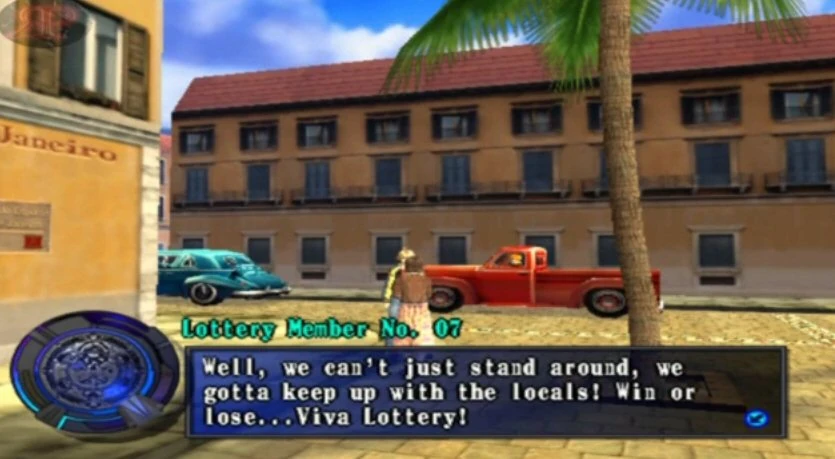

Location: Rio de Janiero
- Ring:
Prizes:

| RED | Magic Mind's Eye |
| YELLOW | Leonardo's Bear |
| BLUE | Hit Area Expand |
| GREEN | Thera Root |
| MISS | Tissues |
Recommended: The Magic Mind's Eye will double your attack force, but will also make your hit area on your ring disappear. The Leonardo's Bear is a good item in that it denies any instant death attacks for a character. Depending on your game, and memory, either item is good.
No.6: Positive Tiare

Location: Moana Village
- Ring:
Prizes:

| RED | Seraphim Straw |
| YELLOW | Will Power |
| BLUE | Daphne Fruit |
| GREEN | Mana Root |
| MISS | Tissues |
Recommended: The Seraphim Straw is solely Hilda's accessory. It sucks out the plus calories from enemies. The Will Power is an accessory that cancels out SP lowering. If you're using Hilda, go for the Straw, otherwise Will Power is a good bet.
No.5: Eccentric Luchella


Location: Time Square
- Ring:
Prizes:

| RED | Cure Plus |
| YELLOW | Force Brow |
| BLUE | Strike Expand |
| GREEN | Pure Root |
| MISS | Tissues |
Recommended:Cure Plus may seem like a good idea, but it's not all that strong in terms of curing. The Force Brow is for the female members, boosting their defense. Depending on the way you fight, both options are good. Reminder that you will need all the stellars to get the Melt Crest.
No.4: Tim of the Inquiring Mind

Location: Arkham University
- Ring: Normal
Prizes:


| RED | Step Tripler |
| YELLOW | Lion Guard |
| BLUE | Angel Souffle |
| GREEN | Pure Root |
| MISS | Tissues |
Recommended: The Step Tripler is an item that, when equipped on the same character with the Pedometer, triples the step count. It is a must-have if you plan on maxing out the Pedometer to obtain Ricardo's ultimate armor. The Loin Guard is an accessory for men that boosts their attack. Angel Souffle is an item that will increase Hilda's calories. If you have extra tickets at the end of the game, feel free to try for the Yellow and Blue prizes, but first try and get the Step Tripler.
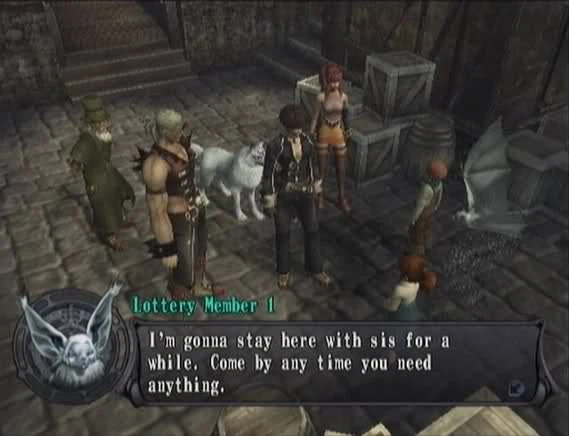
No.3: Big Sister Imola

Location: Harlem
- Ring: Reverse
Prizes:

| RED | Explosion |
| YELLOW | Belly Warmer |
| BLUE | Fruity Fiber |
| GREEN | Thera Extract |
| MISS | Tissues |
Recommended: Explosion is Ricardo's second best weapon. It's important to save before playing this lottery, because it's important that Ricardo receive this item, especially if you plan to use him in the final battle. The Belly Warmer boosts attack for the girls, while Fruity Fiber subtracts 25 calories for Hilda.
No.2: Lolama
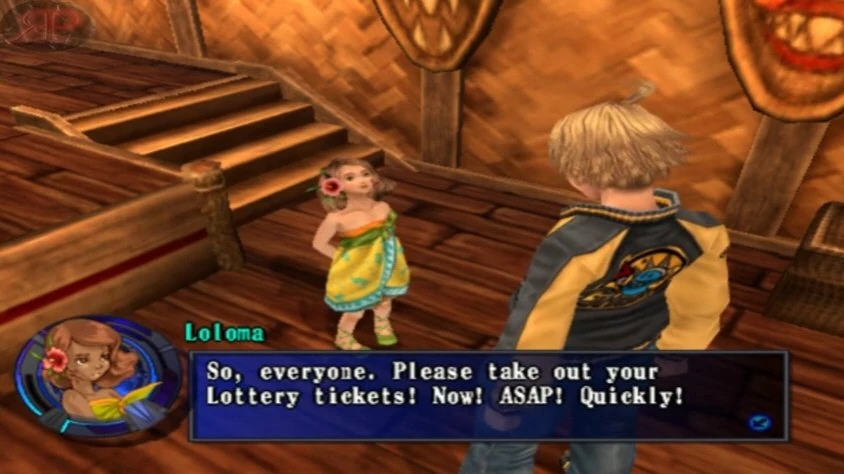

Location: Moana Village
- Ring: Fickle
Prizes:

| RED | Cure All |
| YELLOW | Cosmic Bracelet |
| BLUE | Strike Expand |
| GREEN | Mana Extract |
| MISS | Tissues |
Recommended: Cure All is a stellar that does exactly as it says: it cures all HP. This is only for one member, however, so don't get too excited. The Cosmic Bracelet is probably the best item from this lottery. It prevents poison, seal, panic, apathy, and mental break. The Strike Expand will expand the Strike Zone on your ring. And again as a reminder you will need all stellars to get the Melt Crest.
Note: Lolama will only speak to you if you have received the items from the red zone from each other lottery member.
No.1: Keith (Silver Bat)
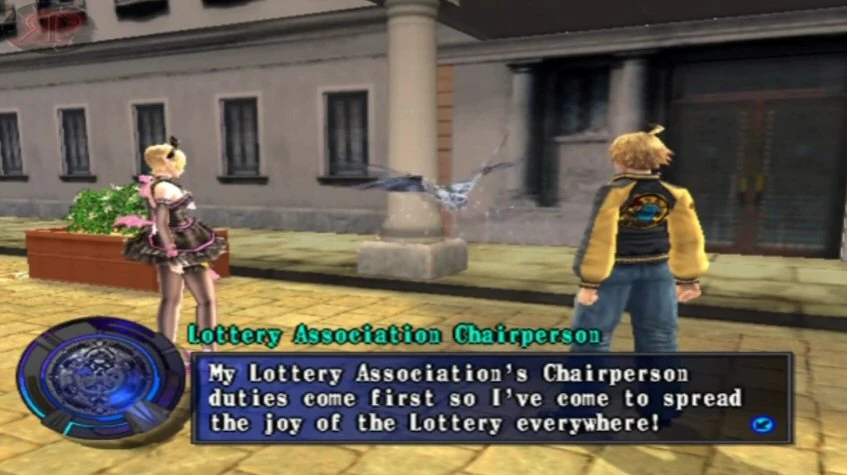

Location: Rio de Janiero
- Ring: Fickle
Prizes:

| RED | Funny Peach |
| YELLOW | Seven-Eye Mask |
| BLUE | Strike Expand |
| GREEN | Pure Extract |
| MISS | Tissues |
Recommended: Funny Peach is Hilda's ultimate armor, so if you're favoring Hilda in your party, feel free to try for this. The Seven-Eye Mask is an accessory that simply boosts defense. The only other place to win this is in the Pit Fights, so if you have enough, just go for Strike Expands.